
Well,
here I am at the end of my challenge. You know what's cool? I didn't
feel like I had to close the month with an amazing piece of art that
will blow your mind. In fact, this isn't even anything that's out of my
own head, it's my second exercise out of Stephanie Pui-Mun Law's
Dreamscapes. I went to Michael's last night and picked up a hodgepodge
of goodies... watecolor paper, a new palette knife, Liquin medium to
make my oils dry more quickly, and iridescent medium for my
watercolors.
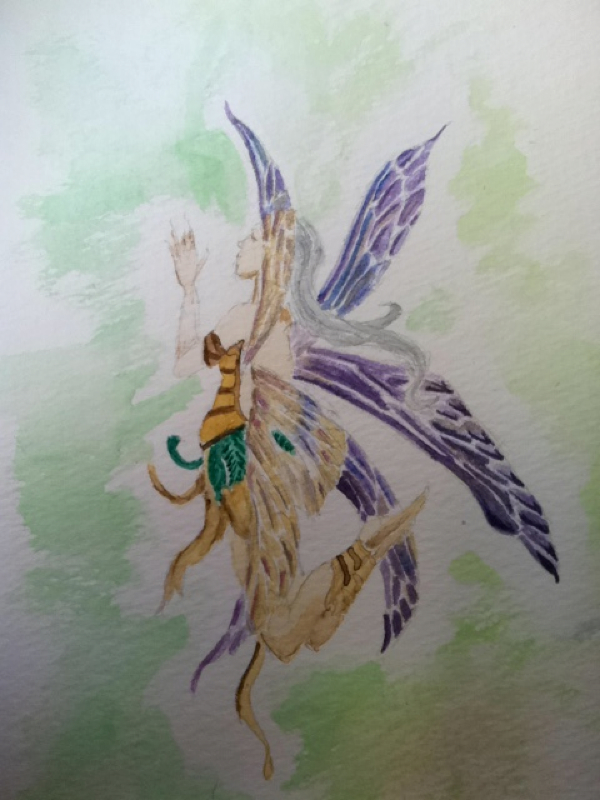
Out of all that stuff, of course, I wanted to play with the sparkles. You probably can't see the medium in my photo here, but her wings and hair have a bit of silvery shimmer that you can see in person. I'm not sure the green scribbles in the background work for me, but it doesn't really matter. It does give me some information on what I want to do with backgrounds in the future.
So this is why it's cool that I feel no need to blow your mind today. Because, I will be here tomorrow, and I will try another experiment, and it might come out great, and it might not, and I may not even paint, I may sketch. I may have a work in progress to show you instead of something finished . But I'll be here.
My friend from Cleveland left yesterday afternoon (it was an awesome visit and over too soon!), and I didn't get into the studio at all while she was here, but I'd painted just enough to cover that time period so that I only had to produce one painting today to meet my 30. But I couldn't WAIT to get into the studio this morning. Art has become part of my life.
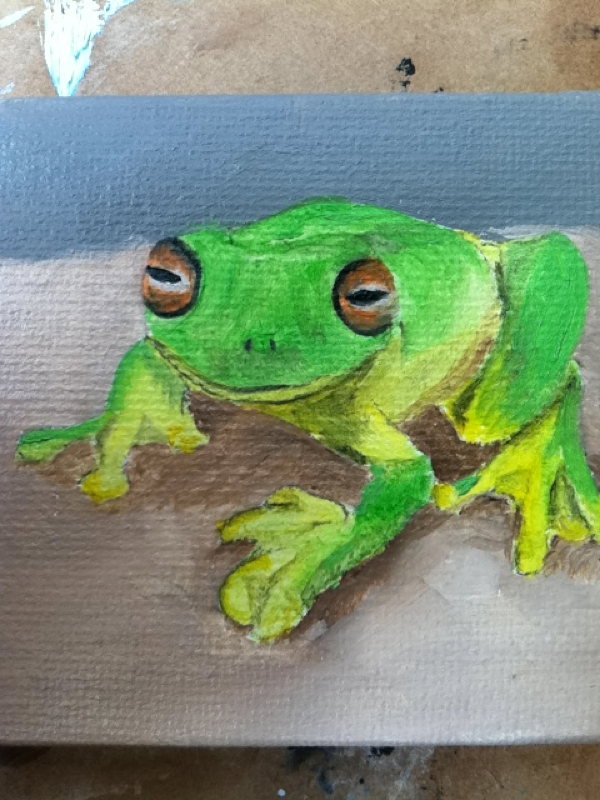
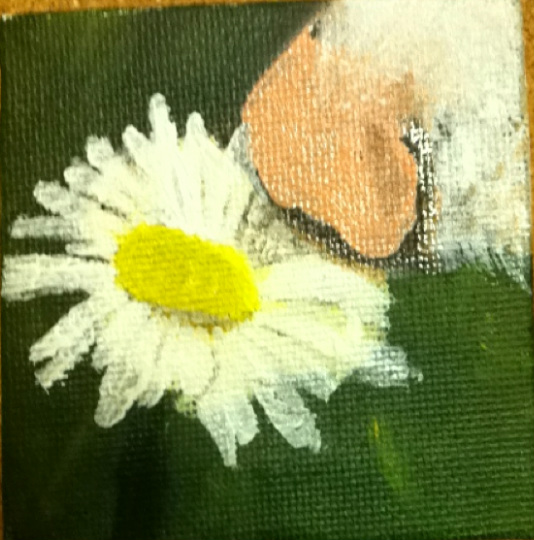
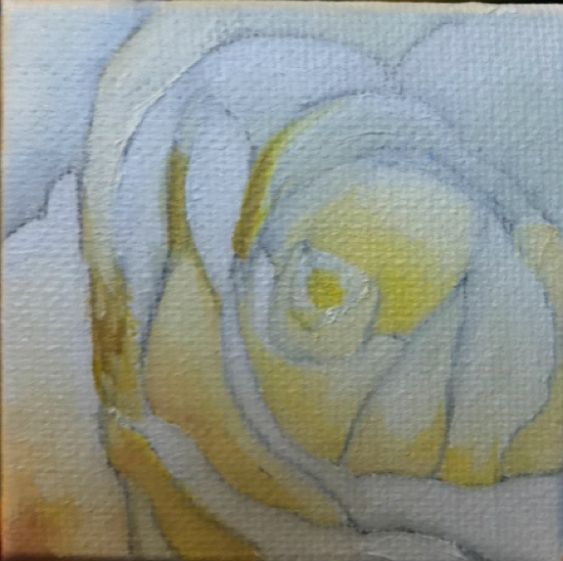
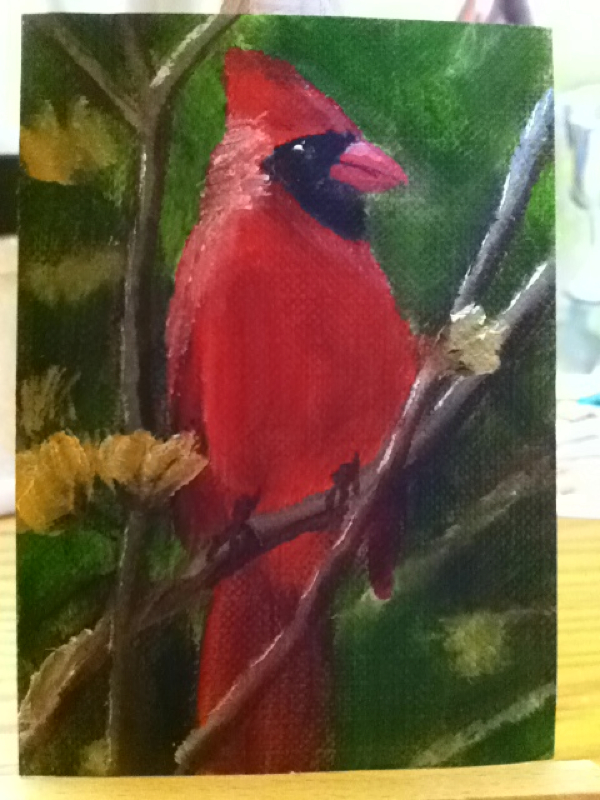
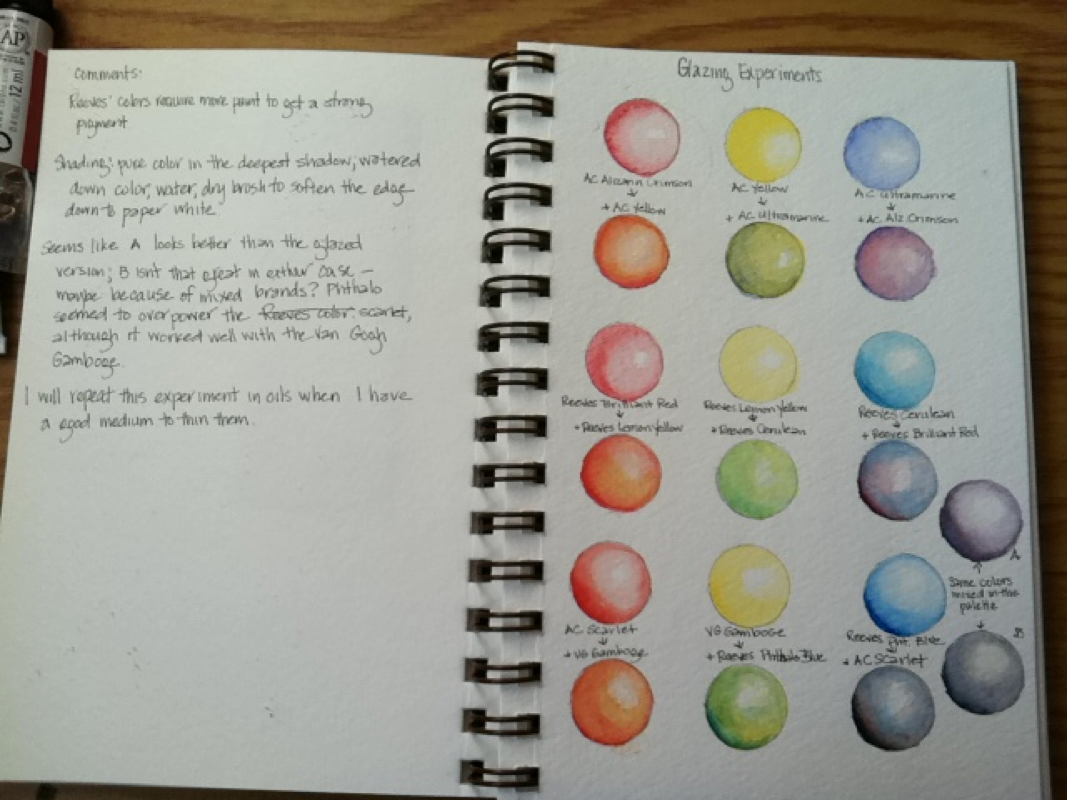
In reality I started this challenge some time around the second week in December. I decided I wasn't going to pressure myself to finish anything because of my painting style in December, but then, not only did I not finish a painting a day in December... I didn't finish anything in December. So I thought this January challenge would be a good kick in the butt to stop being timid and wrap things up. It was, it was great. Some of the experiments I tried, I would not consider a huge success and I wouldn't even dream of showing them to anyone, at one time. But I did. Everything's there on my January 30/30 Challenge page, all in one place so you can see it all, my successes and ... let's call them learning experiences. Because that's what they are. When you show up at the canvas every day, there's no pressure to make THIS painting perfect, because even if it disappoints you, tomorrow's painting might exceed all expectations, and every one of them will teach you something about who you are, what you enjoy, what speaks to your artist's soul, and what you want to try next.
So here you have it, not a painting to knock your socks off, but just one more day, one more painting, one more step on my path that I hope does not have a destination. I'm certainly not focused on a destination right now, although I hope that by the end of this year I can call myself a professional artist.
I keep a page of fancy scrapbooking paper around near my desk. Sometimes words and phrases will come into my own head that I scribble down on this paper, and sometimes I run across some quote or inspiration that I want to remember. When I do, I scribble it into one of hte spaces on this page. I have a few of these tucked away and I recently ran across an old one with this quote on it:
Out of all that stuff, of course, I wanted to play with the sparkles. You probably can't see the medium in my photo here, but her wings and hair have a bit of silvery shimmer that you can see in person. I'm not sure the green scribbles in the background work for me, but it doesn't really matter. It does give me some information on what I want to do with backgrounds in the future.
So this is why it's cool that I feel no need to blow your mind today. Because, I will be here tomorrow, and I will try another experiment, and it might come out great, and it might not, and I may not even paint, I may sketch. I may have a work in progress to show you instead of something finished . But I'll be here.
My friend from Cleveland left yesterday afternoon (it was an awesome visit and over too soon!), and I didn't get into the studio at all while she was here, but I'd painted just enough to cover that time period so that I only had to produce one painting today to meet my 30. But I couldn't WAIT to get into the studio this morning. Art has become part of my life.
In reality I started this challenge some time around the second week in December. I decided I wasn't going to pressure myself to finish anything because of my painting style in December, but then, not only did I not finish a painting a day in December... I didn't finish anything in December. So I thought this January challenge would be a good kick in the butt to stop being timid and wrap things up. It was, it was great. Some of the experiments I tried, I would not consider a huge success and I wouldn't even dream of showing them to anyone, at one time. But I did. Everything's there on my January 30/30 Challenge page, all in one place so you can see it all, my successes and ... let's call them learning experiences. Because that's what they are. When you show up at the canvas every day, there's no pressure to make THIS painting perfect, because even if it disappoints you, tomorrow's painting might exceed all expectations, and every one of them will teach you something about who you are, what you enjoy, what speaks to your artist's soul, and what you want to try next.
So here you have it, not a painting to knock your socks off, but just one more day, one more painting, one more step on my path that I hope does not have a destination. I'm certainly not focused on a destination right now, although I hope that by the end of this year I can call myself a professional artist.
I keep a page of fancy scrapbooking paper around near my desk. Sometimes words and phrases will come into my own head that I scribble down on this paper, and sometimes I run across some quote or inspiration that I want to remember. When I do, I scribble it into one of hte spaces on this page. I have a few of these tucked away and I recently ran across an old one with this quote on it:
Writing is like driving at night. You cannot see beyond the headlights... but you can make the whole trip like that. -- E.L. DoctorowIt occurred to me when I ran across that little snippet that I scribbled down years ago that art is that way too... not that you shouldn't have goals, just that you should remember to savor every bit of the journey. The great thing about art, and writing, and blogs, is that it'll be here, years from now, and you can go back and see where you've been and how far you've come.
So if you did this challenge this month, whether you did 30 paintings or not, congratulations! And thanks for following this journey and inspiring me. And I hope that, like me, you'll be in the studio tomorrow, sorting out where the next turn in your path might take you. More about that tomorrow.
If you DIDN'T do this challenge this month, but you either are an artist or you'd love to be an artist (even if you are telling yourself you don't have the talent), I hope that today holds a few minutes of art for you, even if it's a doodle on a scrap sheet of paper while you're talking on the phone.
Safe travels :)
P.S. If you stop by this blog and take the time to read it, do me a huge favor and drop by that 30/30 page and let me know which of my efforts you like the best... I'd love to hear a little feedback !


 Posts
Posts


